If you’ve ever been frustrated by a cluttered and disorganised toolbox, you’re not alone. Searching for the right tool among a jumble of tools can be time-consuming and stressful. But fear not because foam inserts offer a simple and effective solution for organising your Festool tools and turning your chaotic toolbox into a well-ordered workspace. Let’s explore how foam inserts can revolutionise your tool organisation game and help you reclaim control over your tools.
Introducing Foam Inserts as the Solution
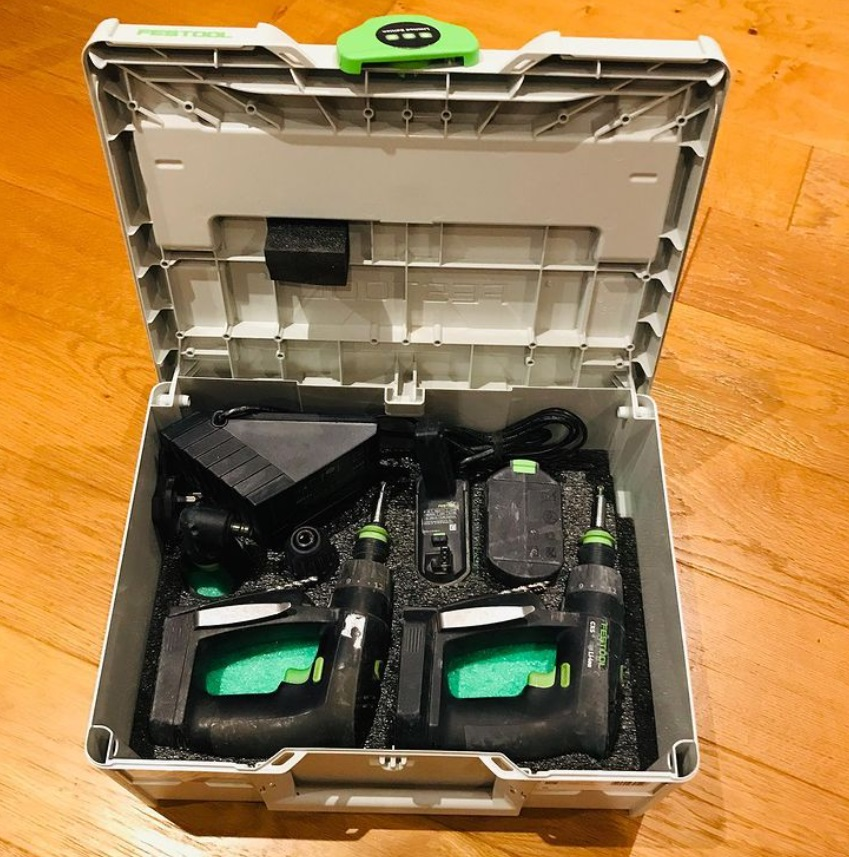
Enter foam inserts: a toolbox organiser for transforming the way you work. Foam inserts are precisely cut foam pieces that fit snugly into your toolbox, creating individual compartments for each tool. Not only do foam inserts provide protection for your tools, but they also make it easy to keep everything neatly organised and easily accessible. Whether you’re a seasoned tradesperson or a weekend warrior, foam inserts offer a practical solution for tackling toolbox chaos once and for all.
Types of Foam Inserts: Finding the Right Fit
Foam inserts come in a variety of designs to suit different needs and preferences. From grid designs to layered foam and customisable kits, there’s a foam insert out there for everyone. Grid designs offer simplicity and ease of use, while layered foam provides added protection for delicate tools. Customisable kits allow you to create a personalised storage solution tailored to your specific tool collection. Whatever your needs, there’s a foam insert design that’s perfect for you.
Practical Tips for Successful Organization
Organising your tools with foam inserts is just the beginning. To maintain organisation over time and maximise efficiency, there are a few practical tips to keep in mind. Consider organising your tools by type or frequency of use to streamline your workflow. Maximise space efficiency by arranging foam inserts strategically and placing frequently used tools within easy reach. And don’t forget to periodically review and adjust your organisation system as your tool collection grows and changes.
Getting Started with Your Festool Foam Inserts
Do you want to learn how to personalise Festool foam inserts? This is a crucial stage in preparing your toolbox since everyone has various tools they want to take with them. Thankfully, the process of cutting and peeling foam inserts is simple, and it won’t take you long to transform your toolbox. Let’s go through the stages you need to follow to be happy with the result.
Buy a Pre-Made Size
There are some foam insert companies that sell pre-made sizes for certain toolboxes. This can make your life easier since you don’t have to worry about cutting down the foam to the correct size. Therefore, find a company that offers sizes for Festool boxes. Select the right one, and you’ll save time and effort.
Get Your Station Ready
Next, it’s time to prepare to cut your Festool foam inserts. You’ll need a few tools to get started, which some companies offer in packs. First, you’ll require some safety gloves. You’ll be used a sharp scalpel blade for cutting around the tools and the gloves can offer safety and grip for the process. Then, ensure the blade on the scalpel is sharp, using a cutting mat on the surface you plan to work on.
Plan the Design
You want to utilise every inch of the Festool foam insert, protecting as many tools as possible. This will require some planning. Lay out all of your tools on the foam insert, positioning them in ways that encourage organisation and take up the least amount of space. Take a photograph when you’re finished so you can remember the design.
Make the First Cut
You might be anxious about making the first cut. However, know that once you get started, it’s much easier. You understand how much pressure you need to use and what it’s like to trace the tool. The best thing to do is start at one of the edges and select the easiest tool to trace. This can give you some confidence. Use the scalpel and cut around the tool, getting as close to it as you can. Applying some pressure on the tool will keep it still.
Choose the Depth
Another element you have to consider is the depth of the cut. Once you’ve got your outline, it’ll be time to go back around the shape and choose how far down you want to cut. Normally, you want the tool flush with the foam so it’s easy to grab. So, carefully choose how much foam you’ll peel back so that the tool still has some protection.
Conclusion
In conclusion, foam inserts offer a simple yet effective solution for transforming your chaotic toolbox into a well-ordered workspace. By providing protection, organisation, and accessibility for your tools, foam inserts can revolutionise your tool organisation game and make your life a whole lot easier. So why wait? Take the first step towards a more organised tool box today and experience the difference that foam inserts can make.